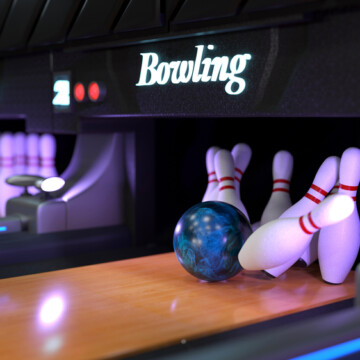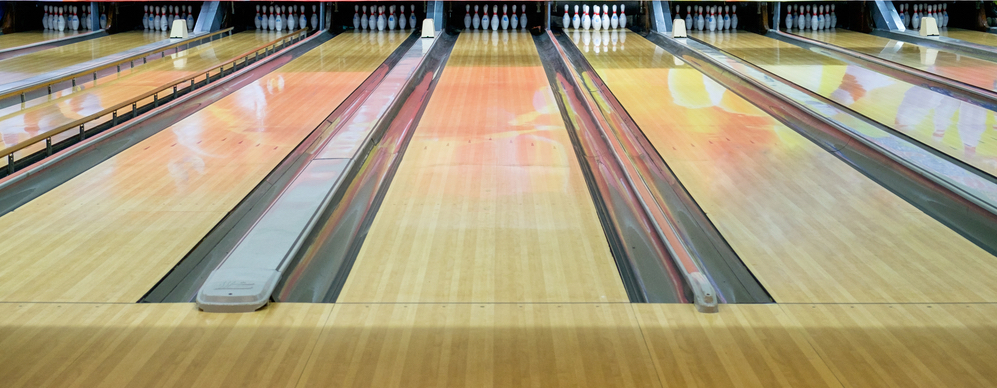
Do you have a basement that's just waiting to be turned into a bowling alley? If so, you're in luck! With the right information and materials, you can transform your basement into the private bowling alley of your dreams.
In this article, we will walk you through how to build a bowling lane in your basement step-by-step. We'll provide you with all the information you need, from choosing the right materials to properly installing the lane.
Let's get started!
Contents
- 1 How to Build a Bowling Lane in Your Basement
- 2 Get the Right Materials for Your Bowling Lane
- 3 Start by Building the Frame for Your Bowling Lane
- 4 Build the Pin Housing and Pinsetter
- 5 Add Finishing Touches to Your Bowling Lane
- 6 Dos and Don'ts of Building a Bowling Alley in Your Basement
- 7 How to Make Your Bowling Alley Feel More Personal
How to Build a Bowling Lane in Your Basement
First, you need to make sure you have enough room in your basement to build a bowling lane. The minimum length for a regulation bowling lane is 60 feet, but we recommend adding an extra foot or two to be safe.
In terms of width, you'll need at least 42 inches of clear space - again, it's always better to err on the side of caution and add a few extra inches. Once you have your measurements, mark out the area in your basement where the lane will go using painter's tape or chalk.
If you are short on space, consider a mini-bowling alley with smaller dimensions.
Key Takeaways
- Space Requirements: Ensure your basement has at least 60 feet in length and 42 inches in width for a standard bowling lane. Consider a mini-lane if space is limited.
- Material Checklist: Gather necessary materials, including plywood, 2x4s, primer, paint, wax, LED lighting, bowling pins, and balls. Keep receipts for returns.
- Lane Construction: Build a sturdy frame from 2x4s and plywood. Level the lane carefully. Optional maple laminate can enhance the look.
- Pin Housing and Setter: Construct a pin housing box at the lane's end and secure a pinsetter for automated pin setup.
- Personal Touches: Customize with decorations, personalized bowling balls, custom pins, and ambient lighting to make the space uniquely yours.
Get the Right Materials for Your Bowling Lane
You can’t get started without purchasing the right materials for the job. Here are the materials you'll need for your basement bowling lane:
| Material | Quantity | Purpose |
|---|---|---|
| Plywood | 8 sheets | Base and top of the lane |
| 2x4s | 14 | Frame construction |
| Primer and Paint | Sufficient for lane | Aesthetic and protection |
| Bowling Lane Wax | As needed | Smoothness and maintenance |
| LED Lighting | Adequate for lane length and width | Illumination |
| Screws | As needed | Securing frame and plywood |
| Bowling Pins | 1 set | Game play |
| Bowling Balls | As per requirement | Game play |
| Table Saw and Chop Saw | 1 each | Cutting materials to size |
| PPE (Personal Protective Equipment) | As per safety standards | Safety during construction |
| Leveler | 1 | Ensure lane is even |
| Maple Laminate Flooring (Optional) | As needed for lane surface | Enhanced aesthetic and finish |
| Sandpaper/Sanding Tool | As needed | Smooth surface preparation |
Depending on the size and layout of your basement, you might need more or less of a particular item. It's always better to have too much and not need it than not have enough. Always keep your receipts in case you need to return anything.
Now that you've got your materials, it's time to start building!
Start by Building the Frame for Your Bowling Lane
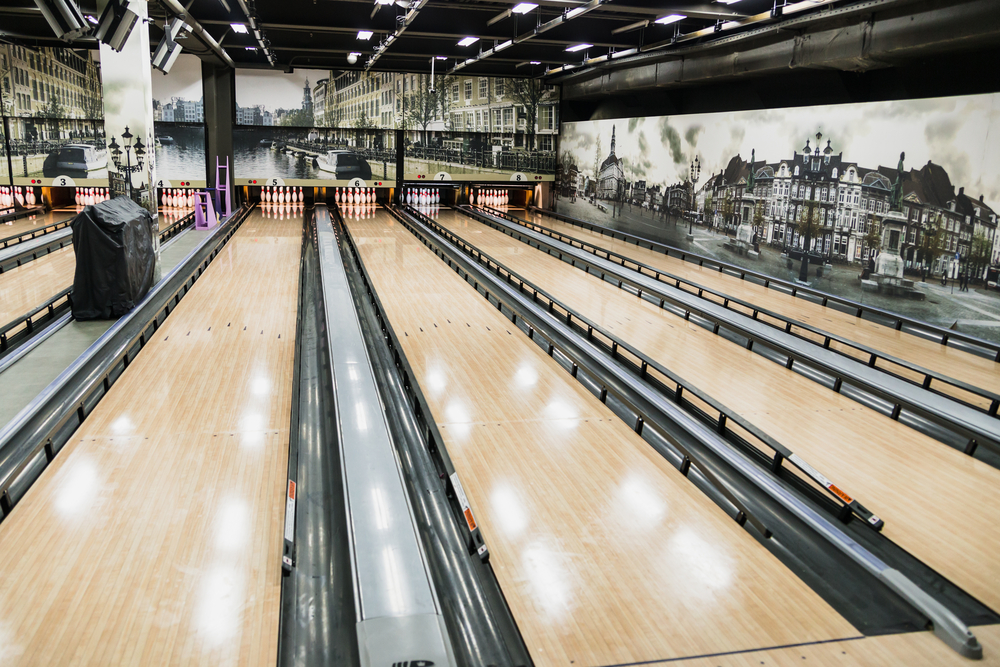
Resize your two-by-fours and plywood using your table saw and chop saw. You'll use them to create a frame. The frame will support the rest of the lane, so make sure it is sturdy and well-constructed.
The size of the lane will depend on the size of your basement - just make sure it is long enough and wide enough to accommodate a regulation-sized bowling ball.
Follow these instructions to assemble the lane:
- Place a piece of plywood on the bottom. The plywood should be as long and wide as the full playing surface of the lane, including the gutters and pinsetter area.
- Secure 2x4s on each side of the plywood lengthwise, leaving enough room for the gutter on each side.
- Add more 2x4s on the far edges of the bottom piece of plywood.
- Reinforce the structure by securing more 2x4s along the length of the lane with screws.
- Secure another piece of plywood on top of the structure to act as the actual bowling lane - the area your ball will roll on.
- Make sure the lane is level - use your leveler to check.
- Adhere the laminate flooring over the plywood on top of the lane. This is optional, but it will give the lane a more polished look. Now that the frame is complete, you can move on to the next step.
Watch this video if you need extra guidance.
Build the Pin Housing and Pinsetter
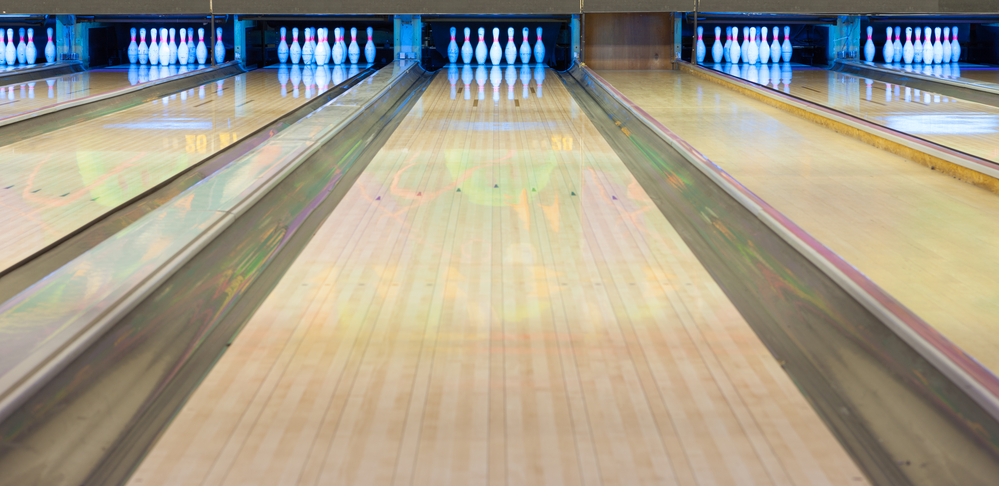
The pin housing is where the pins will go when they are not in use. It is essentially a box at the end of the lane. To build it, follow these instructions:
- Cut four pieces of plywood to create two sides, a front, and a back, for the housing. The pieces should be the same height, but the width will depend on the size of your pins.
- Assemble the pieces using screws or nails to create a box.
- Cut a hole in the top piece of plywood for the ball return. The hole should be big enough for a bowling ball to fit through.
- Secure the housing to the lane using screws.
You'll then need to build your pinsetter. It will set the pins for you when you are ready to bowl. You can find instructions for how to do this here.
Add Finishing Touches to Your Bowling Lane
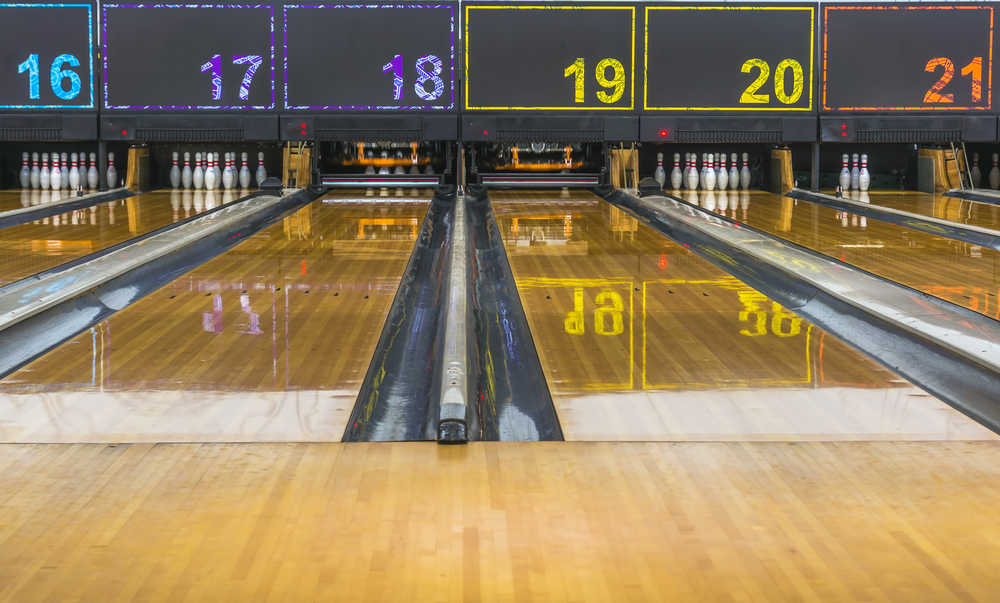
Now it's time to add the finishing touches to your bowling lane! Sand and paint the gutters and pin housing. Don’t forget to prime first. You can use whatever colors you want.
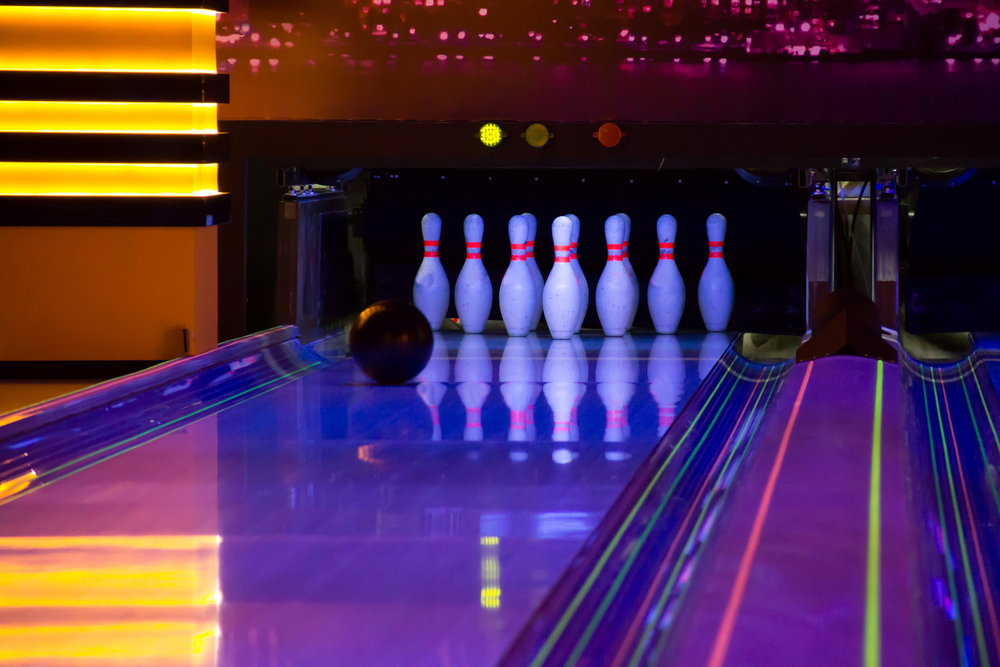
Finally, add lighting to your bowling lane. LED lights are best because they don't produce a lot of heat. You'll need to place the lights around the lane's perimeter to illuminate the area.
Dos and Don'ts of Building a Bowling Alley in Your Basement
Building your own bowling alley can be a lot of fun, but there are some things you need to keep in mind. Here are the dos and don'ts:
Do
- Block out a few days to build the lane. It's not a quick project, but it's worth it!
- Shrink the lane down as much as necessary to make it fit in your basement. A regulation-sized lane is 42 inches wide, but you can make yours narrower if necessary.
- Build the lane as level as possible. This will ensure your ball rolls in the right direction and doesn't veer off course unprovoked.
- Enlist the help of a friend or family member. Having an extra set of hands is always helpful when working on a project like this. It’s a huge endeavor.
- Build a sturdy frame. The lane must support the weight of the pinsetter and bowling balls.
Don't
- Forget to sand the wood before you paint it. This will help the paint adhere better and ensure a smooth finish.
- Use regular light bulbs for your lane lighting. LED lights are much better because they don't produce very much heat, and they come in a wide variety of colors and configurations.
- Get discouraged if your lane isn't perfect. It's not supposed to be! As long as your lane is level and the ball rolls smoothly, you're good to go.
Building your own bowling lane is a fun and challenging project that can be completed in a few weekends. By following the instructions above, you'll be on your way to hours of basement entertainment.
How to Make Your Bowling Alley Feel More Personal
Your bowling alley is all done, but chances are it’s looking a little generic. Luckily, you can do a few things to make it feel more personal. Here are a few tips:
- Add some decorations to the walls. This can be anything from posters of your favorite athletes or movie stars to paintings or photographs.
- Get a personalized bowling ball with your name or initials on it.
- Buy some custom-made bowling pins with your favorite sports team logo or other designs.
- Hang some string lights around the room or lane to create a cozy atmosphere.
Related Articles
- Cost of Building a Bowling Alley
- What Type of Wood Are Bowling Lanes Made
- Used Bowling Pins
- Used Bowling Balls
My Final Words
Transforming your basement into a personal bowling alley is an achievable project that requires precise planning, the right materials, and meticulous construction. Remember, ensuring your space meets the necessary dimensions of at least 60 feet in length and 42 inches in width is paramount for a regulation-sized lane, with adjustments possible for smaller spaces. Collect materials such as plywood, 2x4s, primer, paint, and LED lighting, among others, emphasizing the importance of a sturdy frame and level lane for optimal performance.
The addition of a pin housing and an automated pinsetter elevates the functionality of your lane. Finally, infuse your bowling alley with personal touches through decorations, custom bowling gear, and ambient lighting, making it a unique and enjoyable entertainment space. This project not only showcases your DIY prowess but also offers endless hours of home entertainment, possibly enhancing your property's value and your family's leisure options.

Following these tips will help you create a space that is uniquely yours - and one that you'll be able to enjoy for years to come!
Kira Byrd, a Certified Fraud Examiner, holds a B.S. in Accounting from the University of Alabama at Birmingham. With a passion for bowling from her childhood, Kira has poured her expertise and personal experiences into creating and nurturing Bowling For Beginners. Kira's mission is to meet new bowlers where they are and guide them toward consistently achieving higher scores. With a focus on skill development and strategic techniques, she empowers readers to take control of their game and unlock their true potential.
Bowling For Beginners embodies strict editorial integrity, ensuring reliable and unbiased information. Kira's commitment to delivering valuable insights and practical strategies is reflected in every article. Here's an explanation of our editorial policy and how we get money.


