Have you tried throwing a bowling ball on your own without success? That's totally normal when you're a bowling newbie. Here's the good news: everyone can learn to throw a bowling ball properly with the correct information and guidance.
And that's what you'll get in this article! We'll teach you everything you need to know about throwing a bowling ball, how to aim, and much more.
Contents
How to Throw a Bowling Ball
How you throw a bowling ball depends on the type of shot you're going for. But what won't change much is your finger placement and bowling stance.
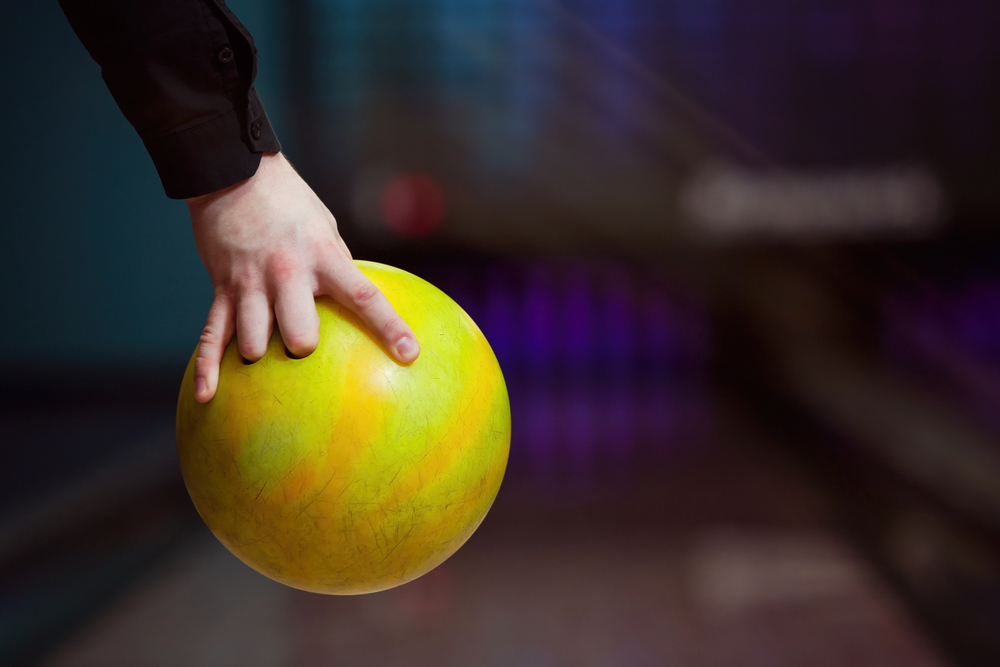
For each of the below shots, you'll put your thumb, middle finger, and ring finger inside the finger holes of the ball. Your pointer finger and pinky will support the ball from the outside.
As far as bowling stances go, you’ll stand with your feet shoulder-width apart and your knees slightly bent.
Now let's go over each type of throw in detail so you can start nailing those strikes!
The Straight Shot
The straight shot is preferred by beginners, as it’s easy to execute. As its name suggests, it requires you to throw the ball straight down the lane.
To throw a straight shot, you'll swing the ball back to get some momentum. Then swing forward with your wrist straight and release when the ball reaches about eye level.
After release, follow through with your wrist straight to ensure the ball continues in a straight line.
The Hook Shot
The hook shot is the most advanced shot type – it’s regularly used by avid and pro bowlers. When done right, it'll make your ball curve sharply near the end of the lane. To throw a hook shot, you'll get your fingers in the ball, get into stance, and swing your arm back.
When you swing forward and the ball passes your body, you'll release your thumb from the ball and quickly flick your wrist: counter-clockwise if you are right-handed or clockwise if you are left-handed. The ball should hook in the direction of your wrist movement.
Curve Shot
A curve shot is a watered-down version of the hook shot. When executed well, it will cause the ball to curve almost evenly from the beginning of the lane to the pins. To throw a curve shot, you'll grab the ball, get into stance, and swing back as usual.
The main thing you need to be aware of is your release - as you release, you'll remove the thumb from the bowling ball and then remove your middle and ring fingers.
Use those last two fingers to sweep the side of the ball to make it spin. It will take some practice, but before long, you'll be able to do all of this in less than a second.
Backup Ball
A backup ball is a shot that is thrown with your usual hand but twisted in the opposite direction. To throw a backup ball, get your finger placement and stance right.
Then, swing backward for max force - when you swing forward, you'll turn your wrist clockwise instead of counter-clockwise (right-handed bowler) or counter-clockwise instead of clockwise (left-handed bowler).
Once you have learned the proper technique for throwing a bowling ball, it’s time to practice. Rent some open lanes and get rolling!
Tips to Fine-Tune Your Release
Now that you know the different types of shots, it's time to focus on perfecting your release. Remember, a good release is key to a proper overall throw! Here are some tips:
- Keep your wrist firm but not stiff as you swing the ball back and forth.
- Release the ball when it reaches eye level.
- Follow through with your hand after release to ensure that the ball doesn’t go off course.
- If you're throwing a hook shot, make sure to flick your wrist quickly as you release the ball. It should happen in a fraction of a second.
- For a curve shot, be sure to lightly spin the ball with your middle and ring fingers.

Ball Hand Positions (Grips) You Should Know About
There are a few different hand positions you can use when throwing a bowling ball. Each position will result in a change in your ball’s trajectory.
- The standard grip, also known as the conventional grip, is the most common way to hold the ball and is best for beginners. To do this, simply put your middle finger and ring finger into the two holes next to each other and place your thumb in the bottom hole. All of your fingers should be inserted all the way inside the ball.
- The fingertip grip is a more advanced way to hold the ball and is best for those who want more control over their shots. To do this, insert only the tips of your middle finger and ring finger into the two holes on the ball. Then, place your thumb in the bottom hole up to the first knuckle, making sure that your thumb is not inserted all the way in.
These are not all of the bowling ball grips to choose from. But beginners almost always use the standard grip. It’s the most straightforward and is pretty forgiving should you lose control of your hand to any extent.
How to Aim Your Shot
One of the hallmarks of success in bowling is the aim. Without a good grasp on the concept, you'll bowl lots of gutters balls.
To aim your shot, start by finding the arrows on the lane. The arrows are placed at different distances from the foul line - they get closer to the gutter as you move to either side of the lane. The sweet spot is usually to the right or left of the middle arrow.
Once you find the spot, align your feet with your target. When you are in position, with your arm straight, swing your arm back and then forward, releasing the ball when it enters your line of vision.
As you can see, there is a lot that goes into throwing a bowling ball correctly. However, if you practice and master the techniques described above, you will be well on your way to becoming a great bowler!

Tips for Improving Your Accuracy and Scoring Potential in Bowling
To sum things up, we’d like to give you a few more tips to improve your accuracy and scoring potential. Reading through these will bring you closer to reaching your goals:
- Practice your aim by throwing the ball at different spots on the lane.
- Try using a heavier ball. A heavier ball will make it easier to knock down all the pins in one throw. Just keep in mind that you should be able to throw it comfortably – heavier is not always better.
- Start with the straight shot. Once you get the hang of it, move on to more advanced bowling shots.
- Experiment with different ball weights to find one that is comfortable for you. Start with a ball that weighs 10% or less of your body weight or less and go from there.
- Don’t be afraid to ask a bowling coach for help. They can offer valuable tips and feedback to set you down a path of progression in the sport. Don't swear off bowling lessons for being too expensive - there are classes that fit just about any budget.
Related Articles
Bowling can be a lot of fun, but it's also a competitive sport. If you want to up your game and start scoring strikes more often, practice at home or at the bowling alley and follow the tips we've provided in this article. Practicing your aim and experimenting with different types of shots will help improve your accuracy and scoring potential.
And don't forget - if you're ever stuck or need some extra guidance, don't be afraid to reach out for help at your local bowling center! We hope that this article has given you some insight into how to throw a bowling ball correctly, and we wish you the best of luck in your future bowling endeavors.
Happy bowling!
Kira Byrd, a Certified Fraud Examiner, holds a B.S. in Accounting from the University of Alabama at Birmingham. With a passion for bowling from her childhood, Kira has poured her expertise and personal experiences into creating and nurturing Bowling For Beginners. Kira's mission is to meet new bowlers where they are and guide them toward consistently achieving higher scores. With a focus on skill development and strategic techniques, she empowers readers to take control of their game and unlock their true potential.
Bowling For Beginners embodies strict editorial integrity, ensuring reliable and unbiased information. Kira's commitment to delivering valuable insights and practical strategies is reflected in every article. Here's an explanation of our editorial policy and how we get money.


