I'm not a big fan of purchasing a new bowling ball unless necessary. So, I've often wondered what is bowling ball resurfacing, how many times I can resurface it, and whether it is important to my game.
It sounds cheesy, but I think of my bowling ball as a partnership. I count on it to make it down a sixty-foot lane, knock down those pesky pins, turn and twist the way I want, and hook when required.
Many bowlers dedicate a lot of money and hours of time to finding the bowling ball that works best for their particular style. Once they find the bowling ball that works best for them, you can bet they work diligently to maintain its condition.
However, despite the constant care and upkeep, a bowler may bestow upon its ball; eventually, a bowler will need to take a step up in their ball maintenance through the resurfacing of their bowling ball.
Contents
- 1 What Is Bowling Ball Resurfacing and What Does It Mean?
- 2 Why Do You Resurface a Bowling Ball?
- 3 How Do You Resurface a Bowling Ball?
- 4 Can You Resurface a Bowling Ball at Home?
- 5 How to Resurface a Bowling Ball at Home
- 6 What Type of Ball Movements Can You Get Through Resurfacing Your Ball?
- 7 How Many Times Can You Resurface a Bowling Ball?
- 8 How Much Does It Cost to Resurface a Bowling Ball?
- 9 How Long Does It Take to Resurface a Bowling Ball?
- 10 How Often Should You Resurface Your Bowling Ball?
What Is Bowling Ball Resurfacing and What Does It Mean?
When you resurface a bowling ball, you are essentially restoring the sharp edges of the microscopic pores found on the ball’s surface by sanding down the surface.
Your bowling ball is covered in these pores, and eventually, they get clogged with dirt. Resurfacing helps deep clean the ball and get it back into tip-top shape.
Key Takeaways
- Bowling ball resurfacing is vital for maintaining the ball's performance. Sanding restores the surface's grip, unclogging the microscopic pores filled with oil and debris.
- Resurface your bowling ball every 60 games to ensure optimal reaction on the lane, as oil absorption over time diminishes the ball's friction and hook potential.
- You can resurface a bowling ball at home using a spinner or manual sanding methods with various grit levels to match your style but ensure even application to maintain balance.
- The process involves deep cleaning and sanding with different grits to achieve the desired ball movement, followed by polishing to restore shine and reestablish the surface's functional texture.
- Professional resurfacing costs range from $5 to $30, depending on the depth of service. DIY options are available for those with the right tools and knowledge, promoting the longevity and performance of the bowling ball.
Why Do You Resurface a Bowling Ball?
Throughout its lifespan, your bowling ball is thrown continuously through oil as it makes its way down the sixty-foot lane. Even with constant cleaning this oil and other debris eventually get absorbed into the microscopic pores found on the bowling ball’s surface.
These pores are used to generate friction and help the bowling ball grip while hooking. When the pores get clogged up. Clogging changes the ball's reaction while traveling down the bowling lane.
Left unchecked and uncleaned you will eventually end up with a ‘dead ball.’ By resurfacing a bowling ball, you are essentially giving it a deep clean, sanding out those clogged pores, and recreating the hills and valleys on the surface of your ball that generated friction in the beginning.
Resurfacing helps give life back to a ball that is slowing down, and the cleaning method is a lot cheaper than buying a brand new bowling ball.
How Do You Resurface a Bowling Ball?
How you resurface a bowling ball depends on what type of results you want for your bowling ball. When you are resurfacing a ball, you are sanding it down to recreate the hills and valleys of the microscopic pores that were clogged by oil.
By sanding with different grits, you can change how your ball reacts to fit your individual style. When resurfacing your bowling ball, you have a variety of options.
You can take your bowling ball into your local pro shop and have them resurface the ball for you. Doing this gives your ball access to high-grade tools and a variety of grits and sanding pads that you may not readily have at home.
Your ball will also be in an experienced person's hands as it is sanded down, so mistakes are highly unlikely.
If you are looking for a more independent route, you can resurface your bowling ball at home yourself. This method does require careful concentration though since sanding too much or too little in one area could disrupt the balance of your ball.
Can You Resurface a Bowling Ball at Home?
Yes, you can! However, it is extremely important that you do the proper research before you attempt to resurface your own ball.
Keep reading this article, call a local pro shop for tips, go online to watch Do-It-Yourself videos or talk to your teammates at the bowling alley.
Just make sure you have a clear idea of how you are going to resurface your ball and the results you want from it. Remember, you are sanding down your ball to restore its surface, so while there is room for a little error you are not working with an infinite amount of material.
How to Resurface a Bowling Ball at Home
Once you have done your research and you are feeling confident enough to attempt resurfacing your bowling ball, you have two at-home methods available to you. bowling ball spinner
- The first is to do the resurfacing by hand, which can be a time-consuming process.
- The second is to use an at-home bowling ball spinner to help speed up the process and ensure an even sanding across ball surface.
Whichever way you choose the tools and methods will be the same, but the results may differ!
Tools
Spinner Home Resurface Kits:
If you have a spinner readily available for your use, utilize it! Spinners are a faster way to help ensure even sanding across the ball’s surface while minimizing the chance for mistakes. If a spinner isn’t available to you, use a home resurfacing kit to help you out.
Sanding Agent:
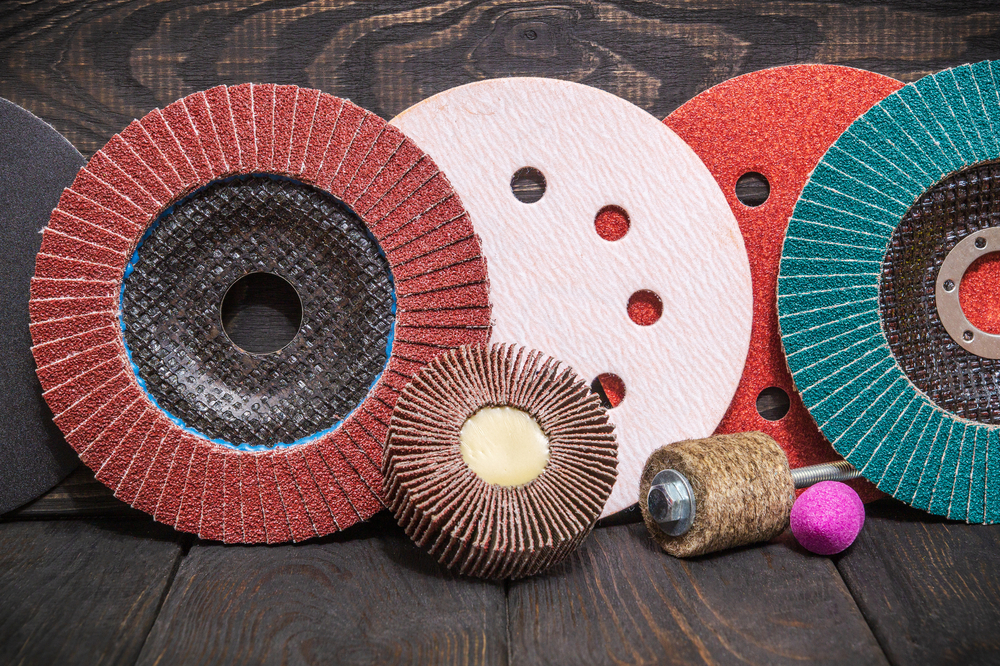
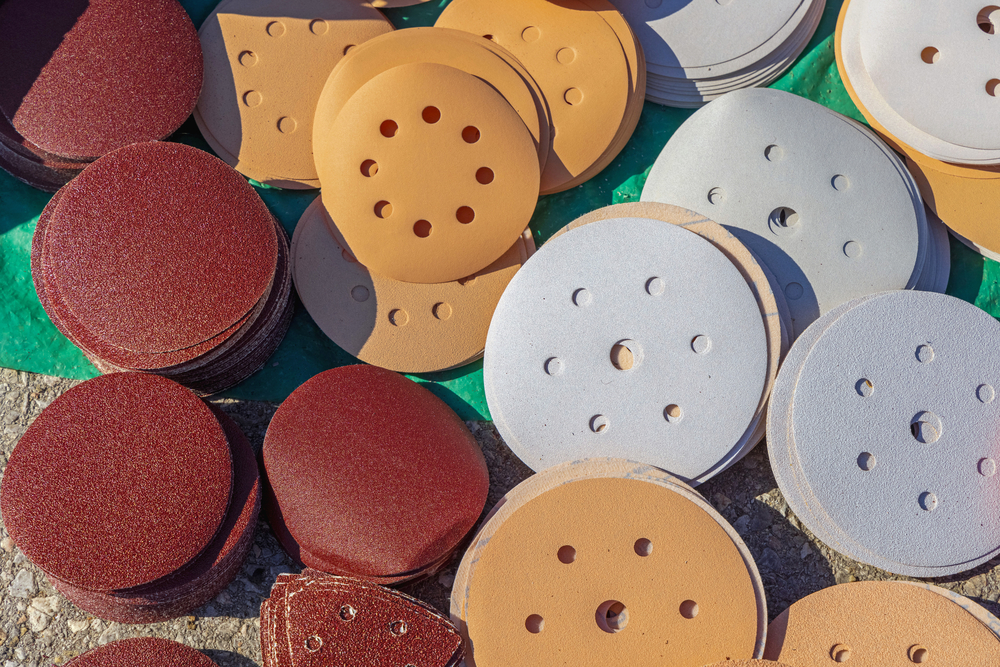
When it comes to actually sanding your bowling ball you have a variety of choices available to you. While some people use sandpaper or other manual methods others turn to air sanding pads and disks as well as other automatic abrasive methods.
Both forms of sanding tools yield good results, what is important to pay attention to is the grit and the amount of time you spending sanding each part of the ball’s surface.
Water Bottle and Water Bowl:
When you are sanding your ball you are going to be generating a lot of dust. In order to combat this inescapable byproduct, it is important to have both a water bowl and a water bottle on hand.
The water bowl needs to be big enough for you to rinse your sanding agent off in. By rinsing your agent you getting rid of the excess dust trapped on the pad and are preventing uneven grit from messing up your sanding process.
The water bottle needs to be on hand to spritz the bowling ball throughout the process. This helps keep the sanding process running smooth and lowers the heat generated by the friction of the sander on the ball. It also helps get rid of the excess dust to ensure a more even finish of the ball.
| Aspect | Description | Tools/Methods | Outcome |
|---|---|---|---|
| Purpose | Restores ball's surface grip by unclogging pores | N/A | Enhanced ball performance |
| When | Every 60 games or when ball's reaction diminishes | N/A | Maintains optimal lane performance |
| How | Sanding with different grits for desired texture | Spinner or manual sanding; various grit levels | Customized ball movement and reaction |
| DIY Resurfacing | Possible at home with careful research and tools | Spinner, sanding agent, water bowl/bottle, towels, pads, polishers | Cost-effective alternative to professional resurfacing |
| Cost | $5 to $30 depending on service depth | Professional service or DIY | Extended ball lifespan and maintained performance |
Towels, Pads, Polishers, and Cleaners:
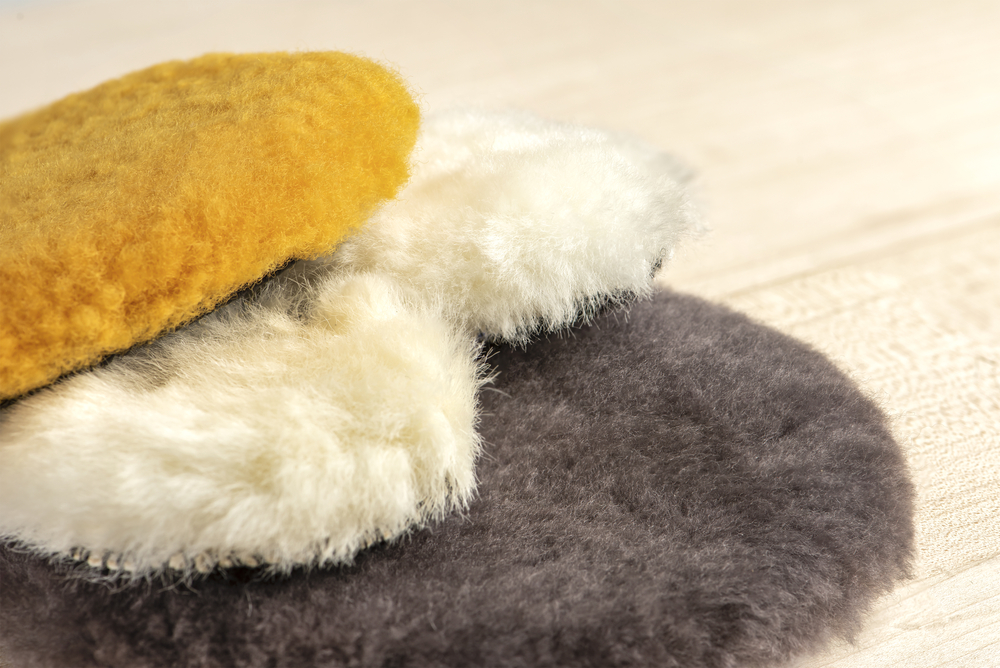
Once you have finished the sanding process you will need to reapply polish to the ball’s surface and clean it to get rid of any debris trapped in the pores. Just make sure that with each different chemical you are using a new towel or pad, never mix the chemicals together on a towel!
Methods
To resurface with a spinner start by placing the center of your ball grip at the top and sand the exposed surface. If your spinner comes with different speeds you want to make sure to use the lowest setting while sanding!
As you work it is important to pay attention to the amount of pressure and the time you spend on each exposed surface. If you are working with a lower grit you want to apply more pressure for a short period of time. Coincidentally you’ll need to use less pressure for a longer length of time if working with a high grit.
Once you have sanded the exposed surface, reposition your ball so the center of your grip is at the bottom before sanding again. When you are done with that surface you will then rotate your ball a quarter turn (or 90 degrees).
Finally, once all of that surface has been sanded, you will turn your ball another 180 degrees and sand to make sure you’ve covered the entire surface of your ball. You will also want to make sure that you can no longer see lines on your ball that run in the opposite direction than the one you’ve been working in. Having lines in the opposite direction may affect the reaction of your ball. Resurfacing does make dull balls, but we are going to take care of that.
Once you have sanded the entire ball and have spritzed it down with water it is time to apply the polish and cleaner. When applying a cleaner or polish you will want to set your spinner speed to it’s highest setting to ensure a smooth, clean polish. Remember to use a different towel/pad for each chemical solution!
What Type of Ball Movements Can You Get Through Resurfacing Your Ball?
Depending on the grit you select, and the sanding technique you use your ball may give off different reactions. It is essential to know what result you want from your ball during play and which grit and technique will give those results before you begin resurfacing.
The most popular method of sanding is coming in at a 90-degree angle from the initial lines of your ball’s surface. This way you can clearly see what the surface needs to be worked on still as you go.
Grit
A lower grit will help a ball handle heavily oiled lanes as well as give the ball more surface. Higher grits work to give a bowler more control of the ball as well as extend the hook phase of a ball during play.
Technique
The way you sand against the ball’s surface can also affect the reaction of your ball. If you sand with your ball’s initial sanding pattern your ball can go a greater length and then put forth more aggression at the end of the lane. If you sand against your ball’s initial pattern you will instead get an early roll and a less aggressive approach at the end.
How Many Times Can You Resurface a Bowling Ball?
The general rule of thumb among bowlers is to resurface a bowling ball until the manufacturing logo is sanded away. Once that label is scratched off completely, it would be wise to start looking into another bowling ball.
If you are bowling on a professional level, then the rule becomes more strict. In order for a bowling ball to be legal in gameplay if must have a circumference of no more than 27.002 inches and no less than a circumference of 26.704 inches. So an acceptable ball should have a diameter between 8.595 inches and 8.5 inches. Cross these lines, and your ball will be ruled as illegal in professional gameplay.
How Much Does It Cost to Resurface a Bowling Ball?
A resurfacing will run you from five to thirty dollars depending on the type of service you request. If you're looking for a simple surface change or clean up pro shops typically charge between five to ten dollars for those services.
However, if you're looking for a deeper resurface you can use a special machine called a Haus Machine, those services generally stay in the thirty dollar range.
How Long Does It Take to Resurface a Bowling Ball?
The length of time required to resurface a bowling ball greatly depends on the method being used and the products being applied.
For example, if you are using a home resurfacing kit with no spinner, a lower grit sanding agent and a variety of polishes and cleaners, resurfacing your ball is going to take you longer compared to someone with a spinner or less chemical applications.
Taking your ball in to be resurfaced at a pro shop will also cut back on time since your ball will be in the hands of an experienced professional.
How Often Should You Resurface Your Bowling Ball?
When it comes to how often your bowling ball resurfaced the general consensus is for about every sixty games you play. At your sixtieth game, you may notice your ball is not reacting the way it used to, even with the applications of cleaner and constant bowling ball maintenance.
This is a sure sign that it is time for a deep clean, which comes in the form of a full bowling ball resurfacing.
While there is no way to extend your bowling ball’s life indefinitely, there are steps you can take to help maintain your bowling ball’s health and longevity.
Constant maintenance and care goes a long way in keeping your ball in top shape, but even if you do all the correct steps eventually your ball will be clogged up with oil.
When this happens resurfacing can help get your bowling ball back on track. This method of cleaning has proven time and time again that with careful concentration and the right technique, you can change up your game and give life back to a ‘dead ball.’
My Final Words
Bowling ball resurfacing emerges as an essential maintenance practice that revitalizes your ball's performance and extends its lifespan, making it a cost-effective alternative to purchasing a new one. By meticulously sanding the ball to unclog and redefine the microscopic pores, you ensure the ball retains its grip, friction, and hook potential on the lane. Whether opting for professional services or taking a DIY approach with home resurfacing kits, the process adapts to suit your style and the ball's needs, allowing for customized ball movement and reaction.
Regular resurfacing is recommended every 60 games, maintains optimal lane performance, and demonstrates a deep understanding of the sport's technical aspects, reinforcing the partnership between bowler and ball.
Kira Byrd, a Certified Fraud Examiner, holds a B.S. in Accounting from the University of Alabama at Birmingham. With a passion for bowling from her childhood, Kira has poured her expertise and personal experiences into creating and nurturing Bowling For Beginners. Kira's mission is to meet new bowlers where they are and guide them toward consistently achieving higher scores. With a focus on skill development and strategic techniques, she empowers readers to take control of their game and unlock their true potential.
Bowling For Beginners embodies strict editorial integrity, ensuring reliable and unbiased information. Kira's commitment to delivering valuable insights and practical strategies is reflected in every article. Here's an explanation of our editorial policy and how we get money.


